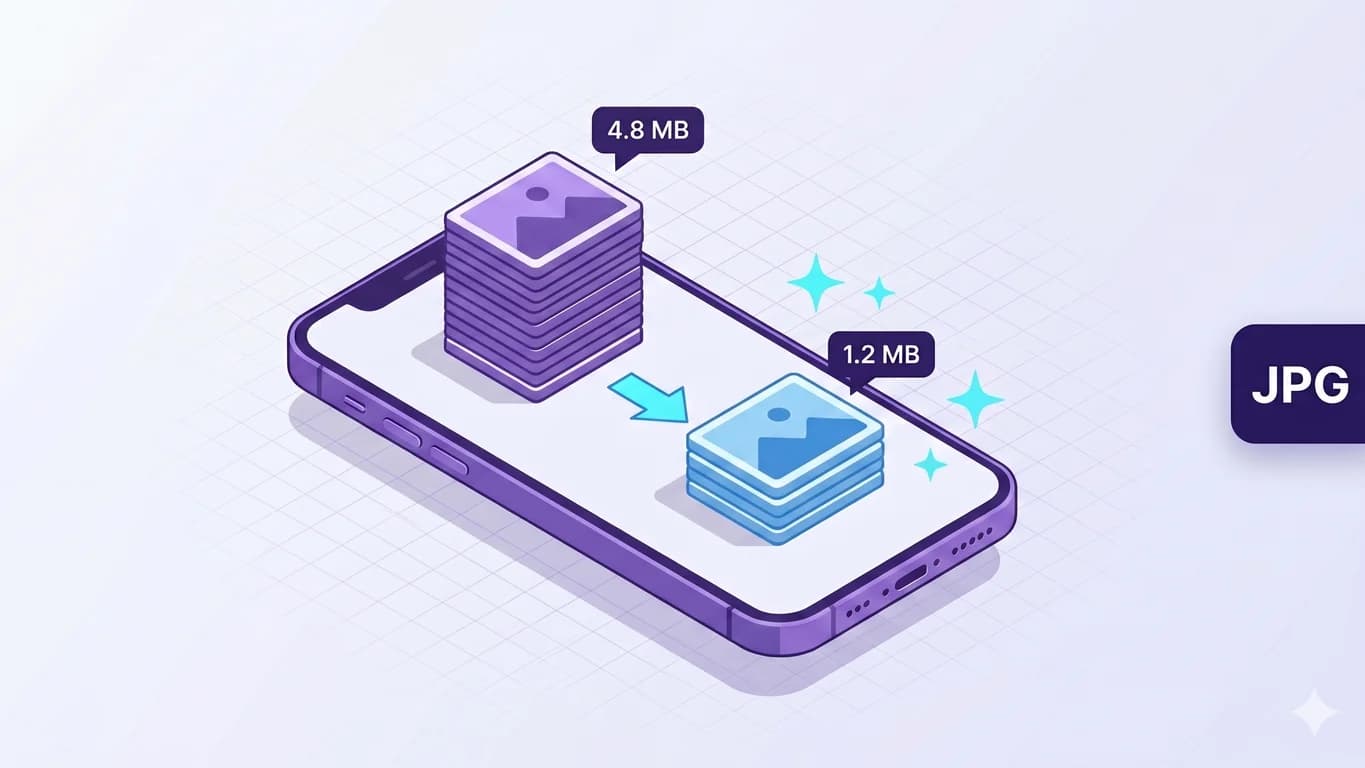
How to Compress Photos on iPhone Without Losing Quality
Shrink iPhone photos with a quality slider and live before/after preview using NxtTools — on-device, no upload, no account.
Zoya Aslam10 min read
If you have ever tried to attach a few iPhone photos to a job application, an insurance claim, or a school form and seen the upload bar crawl, you already know why this post exists. A single recent iPhone photo can land between 2 and 6 MB. A handful in one email is enough to bump into attachment caps or get quietly rejected by a portal that won't accept anything over a couple of megabytes.
This walkthrough uses NxtTools, the mobile utility app from Const Agility, LLC in Houston, Texas. It runs on iPhone, iPad, and Android. The image tools are part of NxtTools' free on-device toolkit, so compression runs entirely on your phone. No upload, no account, no watermark. The goal is a smaller photo that still looks right on your screen, with a live before/after preview so you can stop pushing the slider down the moment the savings stop being worth the trade.
TL;DR
- Install NxtTools from the App Store, open the photo in Image Tools, and tap Compress.
- Pick JPEG for almost every photo. Use PNG for screenshots and graphics with text; WEBP for the smallest files when you control the receiving app.
- Start the Quality slider around 75–80. The before/after preview shows the new file size in real time.
- Everything runs on-device, so HEIC photos export to JPEG, PNG, or WEBP at the same step, with no separate convert.
- No account, no watermark, no upload. A small banner ad is the entire price.
Why the Photos app can't really do this
The stock Photos app can crop, mark up, filter, and tweak metadata, but it does not expose a "make this file smaller" control. iOS does shrink photos in a couple of places. Mail offers Small / Medium / Large / Actual when you attach a draft, and Messages downsamples on send. Those choices are glued to the share sheet, give you no preview, and only apply to that one send. You cannot point them at a photo in your library and get back a smaller copy you can use anywhere else.
A dedicated image compressor closes the gap. You compress once, see the new size before saving, and the smaller copy lives in your library or Files until you need it.
What "compressing a photo" actually does
Compression on a phone trades some image data for a smaller file by re-encoding the photo at a lower quality target. The compressor decodes the original into raw pixels, then writes it back out as a JPEG (or WEBP, or PNG) at the quality you pick, usually exposed as a 0–100 slider. Pixel dimensions stay the same; what changes is how aggressively each tile of the image gets approximated.
Quality and visible sharpness are not a straight line. Most iPhone photos look identical to the original somewhere in the 75–85 range, soften noticeably in the 50s, and turn visibly blocky below 35, most painfully in skies, skin tones, and gradients. Pure text screenshots and high-contrast graphics tell on JPEG faster than photos do, which is why a screenshot belongs in PNG or WEBP.
How to compress a photo on iPhone with NxtTools
A one-minute walkthrough.
Step 1: Open the photo in Image Tools
Launch NxtTools on your iPhone. If you do not have the app yet, the App Store install takes about ten seconds on a recent device.
From the home screen, tap Image Tools and pick the photo. You can pull from your Photos library, from Files, or from a share-sheet hand-off from another app. Long-press a photo in Mail, tap Share, pick NxtTools, and the file lands in Image Tools without a detour.
Step 2: Tap Compress
In the actions row across the bottom, tap Compress. NxtTools opens a sheet with two controls (Format at the top and Quality below) plus a Before and After preview tile that updates as you change either control.
Step 3: Pick a format
The three format options:
- JPEG: the right answer for almost every photo. Universally accepted by email, web forms, government portals, and every chat app on every platform.
- PNG: best for screenshots, app mockups, and graphics where text or hard edges matter. PNG is lossless, so it will not soften text, but the file is usually larger than a high-quality JPEG of the same image.
- WEBP: the smallest file at a given visual quality, but not yet universally accepted. Use it when you control the receiving app (a personal Drive folder, a website you maintain) and avoid it for email or portals where you cannot tell what the other end supports.
If the source is HEIC, which is iPhone's default photo format, Compress will read it fine and export to whichever of the three formats you pick. That single step both shrinks the file and converts it to a format other people's tools will open. If you only need the format conversion without aggressive size reduction, keep the quality slider near 90; see the HEIC walkthrough for the convert-only case.
Step 4: Drag the Quality slider
The slider runs from 0 to 100. The default is 50. A practical starting range:
- 80–90: visually indistinguishable from the original on a phone screen. Cuts file size by roughly half.
- 70–80: still very good for almost any subject; the sweet spot for most "I just need to email this" cases.
- 50–60: visible softening starts on skies, skin tones, and gradients. Reasonable for a thumbnail, questionable for a portrait.
- Below 40: visible compression artifacts on almost any photo. Acceptable for previews or stand-ins only.
You do not have to guess. As you drag, the After tile updates with the new file size and a percent change versus the original. Start at 80, look at the number, and drag lower only if you still need to hit a specific target.
Step 5: Save the smaller photo
Tap Save. NxtTools writes the compressed photo to its own store and shows the share sheet, so you can send it straight to Mail, Messages, Drive, WhatsApp, or any other app on your phone. If you only need to attach the new file to a reply you already have open, the share sheet skips the round-trip through Photos.
If you want both copies, the original at full quality and the smaller one for sending, keep the original in Photos and let NxtTools hold the compressed copy. The original is untouched.
Compressing a batch of photos
For the common case of a few photos in one form upload, repeat the single-photo walkthrough: open Image Tools, pick the next photo, hit Compress, save. NxtTools works one photo at a time today, not on a multi-select. For a true batch of dozens at once, desktop tools are the better fit. Preview on macOS handles a multi-select via File → Export Selected Images with a JPEG quality slider, and ImageMagick handles a shell-script batch in one line.
When NxtTools is not the right fit
A few honest cases where another tool wins:
- You only need to email a single photo. Apple Mail's built-in image picker offers Small / Medium / Large / Actual right above the send button. It downsamples the photo just for that send, takes one tap, and gets you out the door faster than any third-party app can. If the recipient is fine with whatever "Medium" produces, take the win.
- You are working from a desktop, not a phone. NxtTools is mobile-first. On an Apple Silicon Mac (M1 and up) NxtTools itself installs from the Mac App Store and runs natively as a desktop app, giving you Image Tools without a browser. On an Intel Mac, a Windows laptop, or a Chromebook, your honest free web options are Squoosh (the Google one: free, no caps, works fully in the browser, no account) and TinyPNG (free up to 20 images at a time, no account).
- You are doing real photo editing for print. A "compress" slider is not a substitute for Photoshop's Save for Web or Affinity Photo's export pipeline, both of which let you target a specific file size, preview at the destination dimensions, and tweak chroma sub-sampling per image. Worth the license if photo output is your job.
- You need to compress hundreds of photos at once. As noted above, NxtTools does one image at a time; Preview's multi-select export or an ImageMagick one-liner is the honest answer for a true batch.
Even when one of those cases sends you elsewhere for a specific job, the same NxtTools install gives you the rest of the toolkit in one place: the document scanner, the PDF tools (including the cousin to this walkthrough, Compress PDF), the signature pad, and QR Bundles. The image compressor is one tool in that kit, not the whole product.
FAQ
How do I compress a photo on iPhone without losing quality?
Install NxtTools, open the photo in Image Tools, and tap Compress. Pick JPEG as the format and start the Quality slider around 75 to 80. NxtTools shows a live before/after preview with the new file size, so you can drop the slider further only as long as the photo still looks right on your screen. Everything runs on your iPhone. No upload, no account.
Does compressing a photo on iPhone lose quality?
Compressing always trades some image data for a smaller file. The question is how much. JPEG quality at 80 on an iPhone photo is usually indistinguishable from the original at normal viewing distance, while cutting file size by half or more. At 50 you start to see softness in skies and skin tones. NxtTools shows a live before/after preview so you can stop at the highest setting that still hits your size target.
What's the best app to compress photos on iPhone?
For a free on-device option, NxtTools includes Image Tools with a Compress action that runs on your phone, with a quality slider, a format chooser (JPEG, PNG, WEBP), and a before/after preview. Nothing uploads. There is no account, no daily cap, and no watermark. The same install also covers PDF tools, a document scanner, signatures, and QR Bundles.
Will compressing a photo on iPhone change the HEIC format?
Yes, that is part of the point. iPhones save photos as HEIC by default, which is small but not always accepted by older email systems, web forms, or work apps. NxtTools reads HEIC fine and exports the compressed photo as JPEG, PNG, or WEBP, so a single Compress step both shrinks the file and converts it into a format the other end will accept.
Do I need to sign up to compress photos in NxtTools?
No. Every NxtTools tool today works without an account. Image Tools run on-device, so the only cost is a small banner ad. Account sign-up (Apple SSO, Google SSO, email, or email/OTP) exists but today only unlocks customer support access. Subscriptions and AI on-demand pricing are roadmap items that will require sign-up when they ship; neither is live today.
Get NxtTools
Image Tools is one of NxtTools' free on-device toolkits, with a quality slider, format chooser, before/after preview, no upload, no account, and no watermark. The same install gives you PDF tools, a document scanner, a signature pad, and QR Bundles, so the photo, the form, the receipt scan, and the signed page all live in one app.
- iPhone & iPad — App Store
- Mac (Apple Silicon, M1 and up) — Mac App Store (same iPad app, installs natively as a desktop application; Intel Macs are not supported via this path)
- Android — Google Play